Tutorial 9: Shell project management
This tutorial describes advanced project management techniques in CleverMaps Shell.
In the first tutorial, you've learned how to create a project, dump it, import a dimension and add some data & metadata. Now the project has been handed over and your clients are using it. So what about extensions? What about data updates? We sure don't want our clients to use an incomplete/broken project. We'll create a clone, perform our work there, and then elegantly put our changes back to the live project. Here's how.
Creating a project clone
The process of creating a project clone is very simple.
Log in to CleverMaps Shell and use cloneProject command with --project and --organization parameters. See example below.
CleverMaps$ login
Found config file: /home/tomas/.cleverMaps/config
	* setting https://secure.clevermaps.io as default server
	* setting /var/local/metadata as default dump directory

Successfully logged in as tomas.schmidl@clevermaps.io (using access token)

tomas.schmidl@secure.clevermaps.io$ cloneProject --project <project_id> --organization <organization_id>
Created project c2ovon61uudj9lpm
Project c2ovon61uudj9lpm successfully opened
        Project title: Clone of First project
        Organization: <your_organization>

Opening dump...
You don't have dump to open for this project.
Starting cloning of project <project_id>...
Cloning of project <project_id> was successful.
tomas.schmidl@secure.clevermaps.io/project:c2ovon61uudj9lpm$
Cloning of project can take a few minutes. If you are having trouble with cloning, you can try server side import method below.
<organization_id> is provided with your CleverMaps license
After successfully cloning the project, use dumpProject to dump your project.
This creates an identical clone of the original project. A clone might serve multiple purposes. It can be used as:
a working copy of the original project (where updates are made, and which later replaces the original project)
a base for a branched-out, similar project (in order not to start from scratch)
a backup of an older version of the project (to be archived)
Alternatively, you can use importProject command with the --serverSide parameter. Log in to CleverMaps Shell and create a new project using the createProject command.
CleverMaps$ login
Found config file: /home/tomas/.cleverMaps/config
	* setting https://secure.clevermaps.io as default server
	* setting /var/local/metadata as default dump directory

Successfully logged in as tomas.schmidl@clevermaps.io (using access token)

tomas.schmidl@secure.clevermaps.io$ createProject --title "Clone of First project"
Created project c2ovon61uudj9lpm
Project c2ovon61uudj9lpm successfully opened
        Project title: Clone of First project
        Organization: CM Trial

Opening dump...
You don't have dump to open for this project.
Then use the importProject command. Specify the --project parameter with the project's ID, and the --serverSide parameter to perform import of the project on the server.
tomas.schmidl@secure.clevermaps.io/project:c2ovon61uudj9lpm$ importProject --project k5t8mf2a80tay2ng --serverSide
Importing project k5t8mf2a80tay2ng...

Importing of project k5t8mf2a80tay2ng was successful.
After successfully importing the project on the server, use dumpProject to dump your project. Now you have an identical clone of the original project.
Project versioning
We recommend using versioning tools when developing and maintaining projects. Follow our Git tutorial.
However, you can also create a backup by manually copying your dump somewhere else.
Restoring a backup
Mistakes can happen and it's better to be prepared. Let's say you made some changes and you want to roll them back. If you've made a backup of your dump you're in luck.
Replace the metadata folder of your dump with the metadata folder of your backup. Do not replace the dumpMetadata.json file.
Run the status command to see files that have changed. You can also run diff to show how they changed.
Here we see an example of a status command. We can see, that in our backup there are several changes:
average_transaction_indicator and average_transaction_metric were deleted on the server
business_overview_dashboard and transactions_metric were modified
tomas.schmidl@secure.clevermaps.io/project:k5t8mf2a80tay2ng/dump:$ status
Checking status of project k5t8mf2a80tay2ng (First project) against dump ...

2 files have been modified locally:
        C:\CleverMaps\k5t8mf2a80tay2ng\metadata\dashboards\business_overview_dashboard.json
        C:\CleverMaps\k5t8mf2a80tay2ng\metadata\metrics\transactions_metric.json

4 files have been modified on the server:
        C:\CleverMaps\k5t8mf2a80tay2ng\metadata\dashboards\business_overview_dashboard.json
        (deleted on server) C:\CleverMaps\k5t8mf2a80tay2ng\metadata\indicators\average_transaction_indicator.json
        (deleted on server) C:\CleverMaps\k5t8mf2a80tay2ng\metadata\metrics\average_transaction_metric.json
        C:\CleverMaps\k5t8mf2a80tay2ng\metadata\metrics\transactions_metric.json

2 files have been modified both locally, and on the server:
        C:\CleverMaps\k5t8mf2a80tay2ng\metadata\dashboards\business_overview_dashboard.json
        C:\CleverMaps\k5t8mf2a80tay2ng\metadata\metrics\transactions_metric.json

tomas.schmidl@secure.clevermaps.io/project:k5t8mf2a80tay2ng/dump:$
Let's say we want to restore all metadata files. Run the restoreMetadata command.
tomas.schmidl@secure.clevermaps.io/project:k5t8mf2a80tay2ng/dump:$ restoreMetadata
Restoring objects...

Adding all new objects to the project...

Added object average_transaction_metric.json
Added object average_transaction_indicator.json

2 new objects have been successfully uploaded to project k5t8mf2a80tay2ng

Uploading modified metadata objects to the project...

Uploaded object transactions_metric.json
Uploaded object business_overview_dashboard.json

Metadata of project k5t8mf2a80tay2ng successfully updated from dump

tomas.schmidl@secure.clevermaps.io/project:k5t8mf2a80tay2ng/dump:$
In the message, we can see that the shell has updated two objects and two previously deleted objects were again added to the project.
If you would like to restore only one object you can use the restoreMetadata command with the --objectName parameter.
tomas.schmidl@secure.clevermaps.io/project:k5t8mf2a80tay2ng/dump:$ restoreMetadata --objectName business_overview_dashboard
Restoring object business_overview_dashboard...

Uploading modified metadata objects to the project...

Uploaded object business_overview_dashboard.json

Metadata of project k8n93nsv48oglkne successfully updated from dump

tomas.schmidl@secure.clevermaps.io/project:k5t8mf2a80tay2ng/dump:$
Updating a live project
Now that we've done some work on the project clone, we want to transfer the changes to the live project.
So with the premise that we don't want our clients to use an incomplete/broken project still in mind, what can we do? Before we update the data and metadata, we will set the project's status to disabled, using the editProject command.
tomas.schmidl@secure.clevermaps.io$ editProject --project k5t8mf2a80tay2ng --newStatus disabled
Project status changed to "disabled"

tomas.schmidl@secure.clevermaps.io$
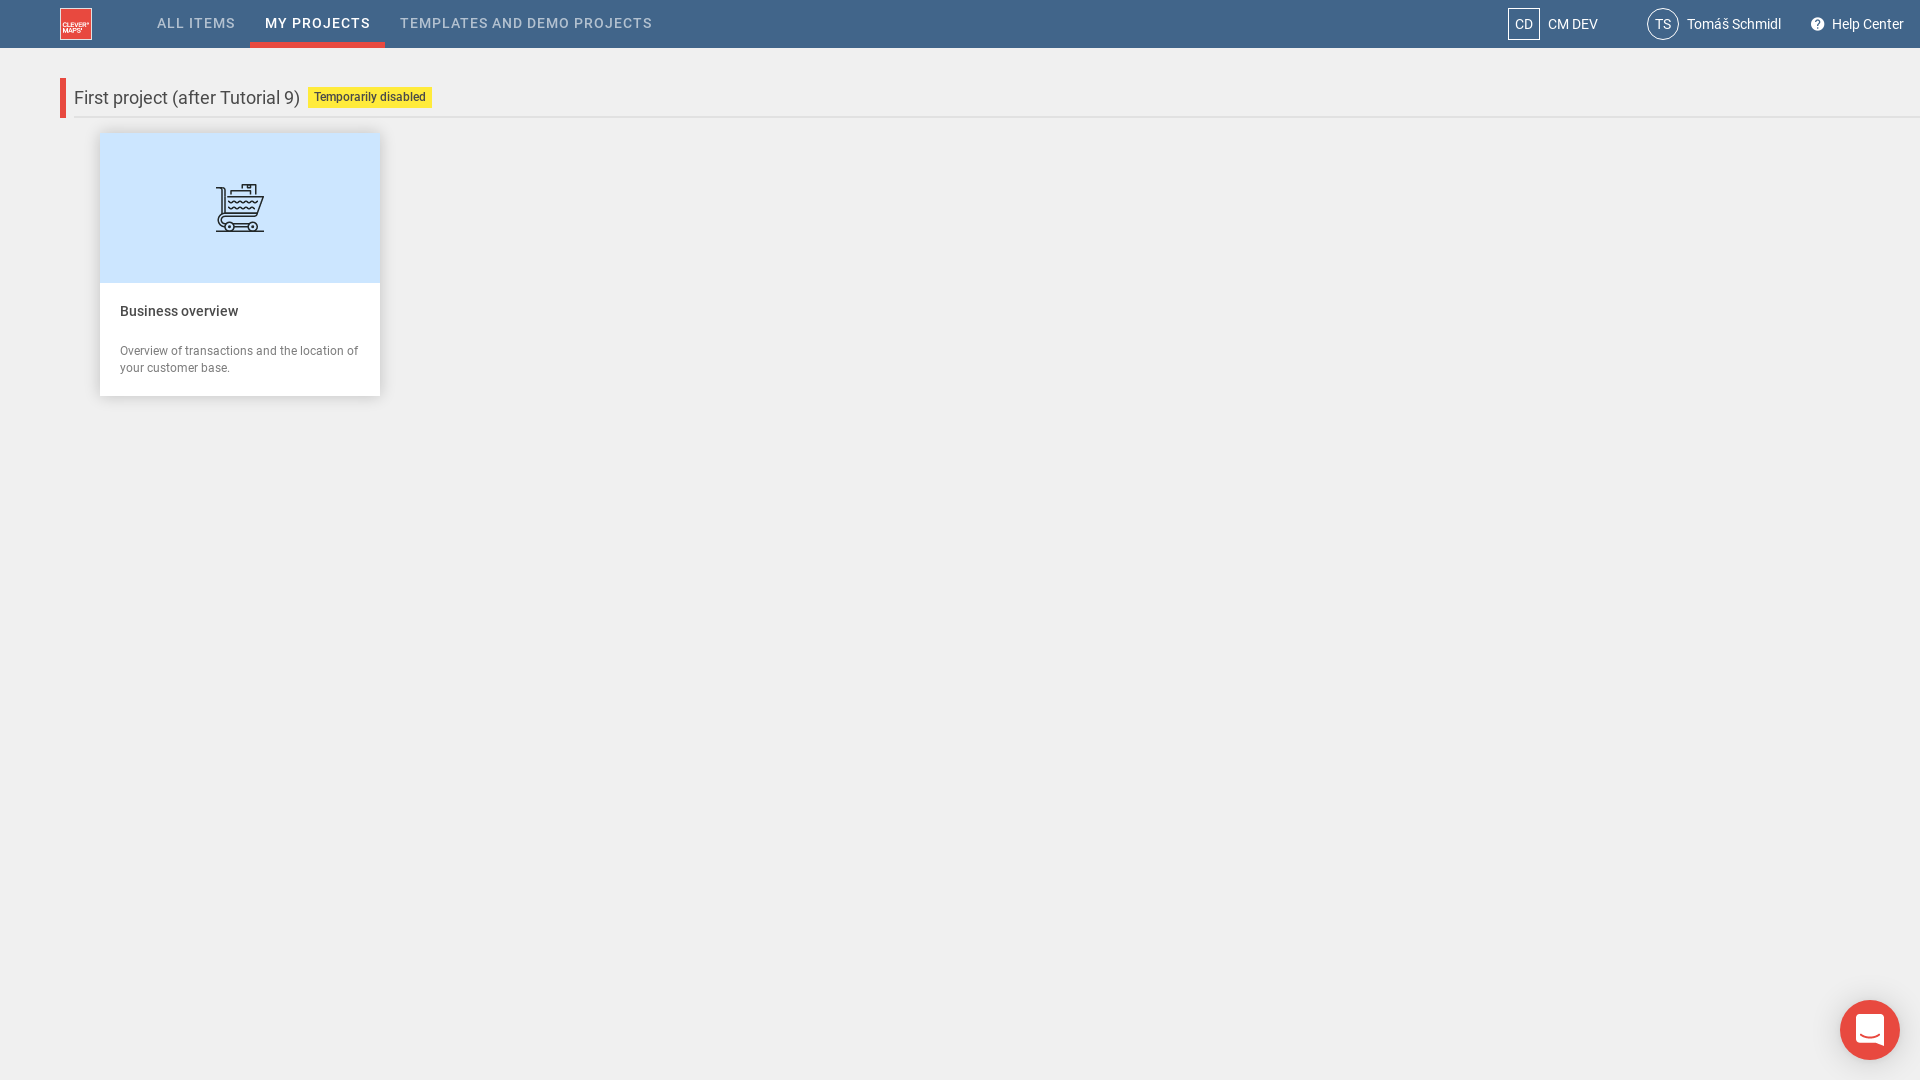
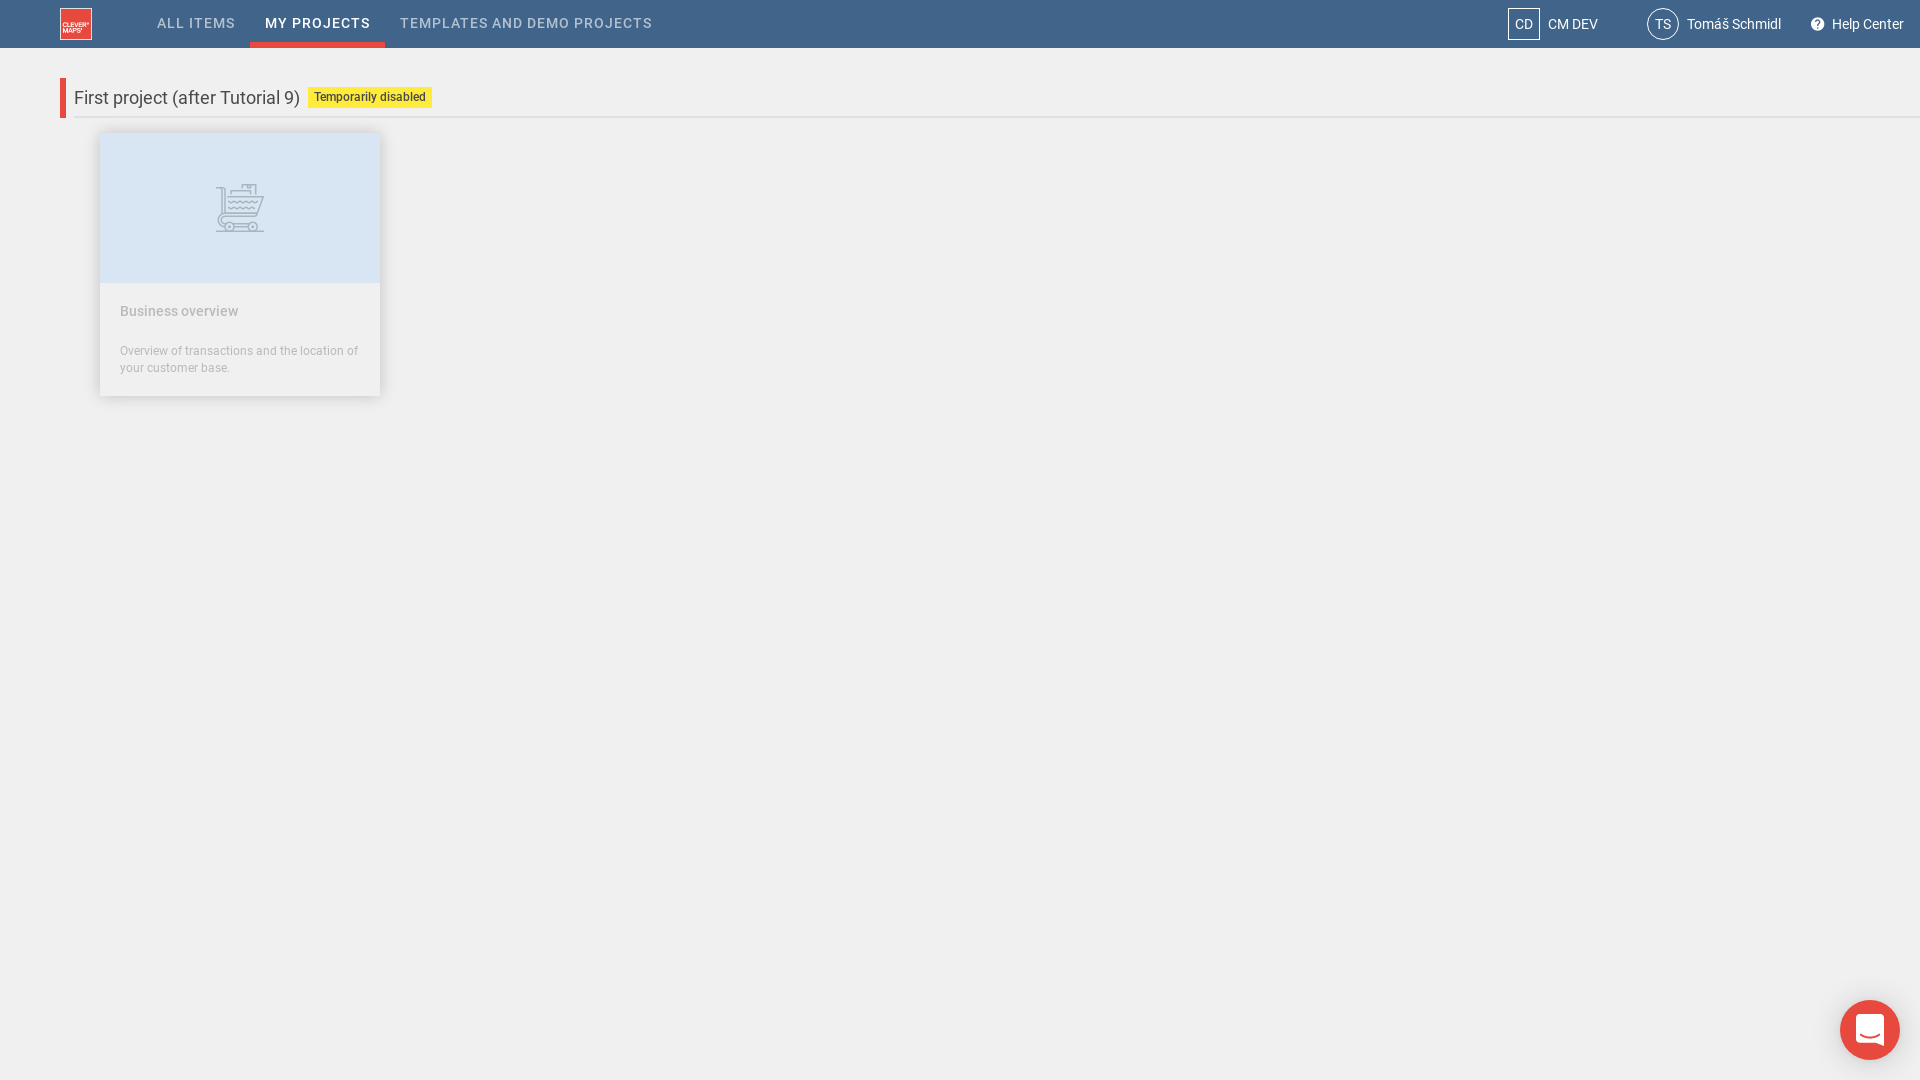
Setting the project's status to disabled displays a maintenance notification to the user. This notification varies for different user roles:
Admin role sees a popup window (which can be dismissed) and a warning bar at the bottom and can still access all project's views
Editor, Load data and Viewer roles can access the Project page, but cannot access any of the project's views
So you, as an Admin can still review the changes you've made, but other users are informed about the maintenance and are told to come back later.
Project page for Admin role | Project page for Editor, Load data and Viewer roles |
|---|---|
 |  |
With the live project being disabled, we can truncate it of all data and metadata. Open the project again to close the current dump, and use the truncateProject command.
tomas.schmidl@secure.clevermaps.io$ openProject --project k5t8mf2a80tay2ng
Project k5t8mf2a80tay2ng (First project) successfully opened

tomas.schmidl@secure.clevermaps.io/project:k5t8mf2a80tay2ng$ truncateProject
Truncation of project started...

Project was successfully truncated.

tomas.schmidl@secure.clevermaps.io/project:k5t8mf2a80tay2ng$
Now, we will import dump of the clone project, where we've done all the work. Use importProject command with both --dump and --project parameters.
tomas.schmidl@secure.clevermaps.io/project:k5t8mf2a80tay2ng$ importProject --project c2ovon61uudj9lpm --dump
Checking if the project k5t8mf2a80tay2ng is empty... OK

Importing local dump of project c2ovon61uudj9lpm...
Let's skip some of the importProject command output again...
Import finished!
Source project: c2ovon61uudj9lpm (First project (clone))
Destination project: k5t8mf2a80tay2ng (First project)
Imported metadata objects: 22
Imported CSV files: 9

To view detailed imported content, use status command.
When you're done, use addMetadata command to add the metadata to the project.
To push the data to the project, use pushProject command.

tomas.schmidl@secure.clevermaps.io/project:k5t8mf2a80tay2ng/dump:$
And as the finish message tells us, use the usual addMetadata and pushProject commands to upload the updated dump to the live project.
After that, you as an Admin can open the project in the application. Dismiss the "Maintenance is under way" popup window, enter the Transactions view, and check out if everything works, and the changes you've done in the clone project are there.
Finally, we can switch the project's status back to enabled, and let all our users in.
tomas.schmidl@secure.clevermaps.io/project:k5t8mf2a80tay2ng/dump:$ editProject --project k5t8mf2a80tay2ng --newStatus enabled
Project status changed to "enabled"

tomas.schmidl@secure.clevermaps.io/project:k5t8mf2a80tay2ng/dump:$ ![]() That's it! You've learned some advanced project management techniques. What about the project clone? This is up to you, but it's best to keep it, since it will be available the next time you have to update the live project.
That's it! You've learned some advanced project management techniques. What about the project clone? This is up to you, but it's best to keep it, since it will be available the next time you have to update the live project.
