Back to 5. Control Map dashbord state
Continue to Tutorial conclusion
6.1. Prepare new map dashboards
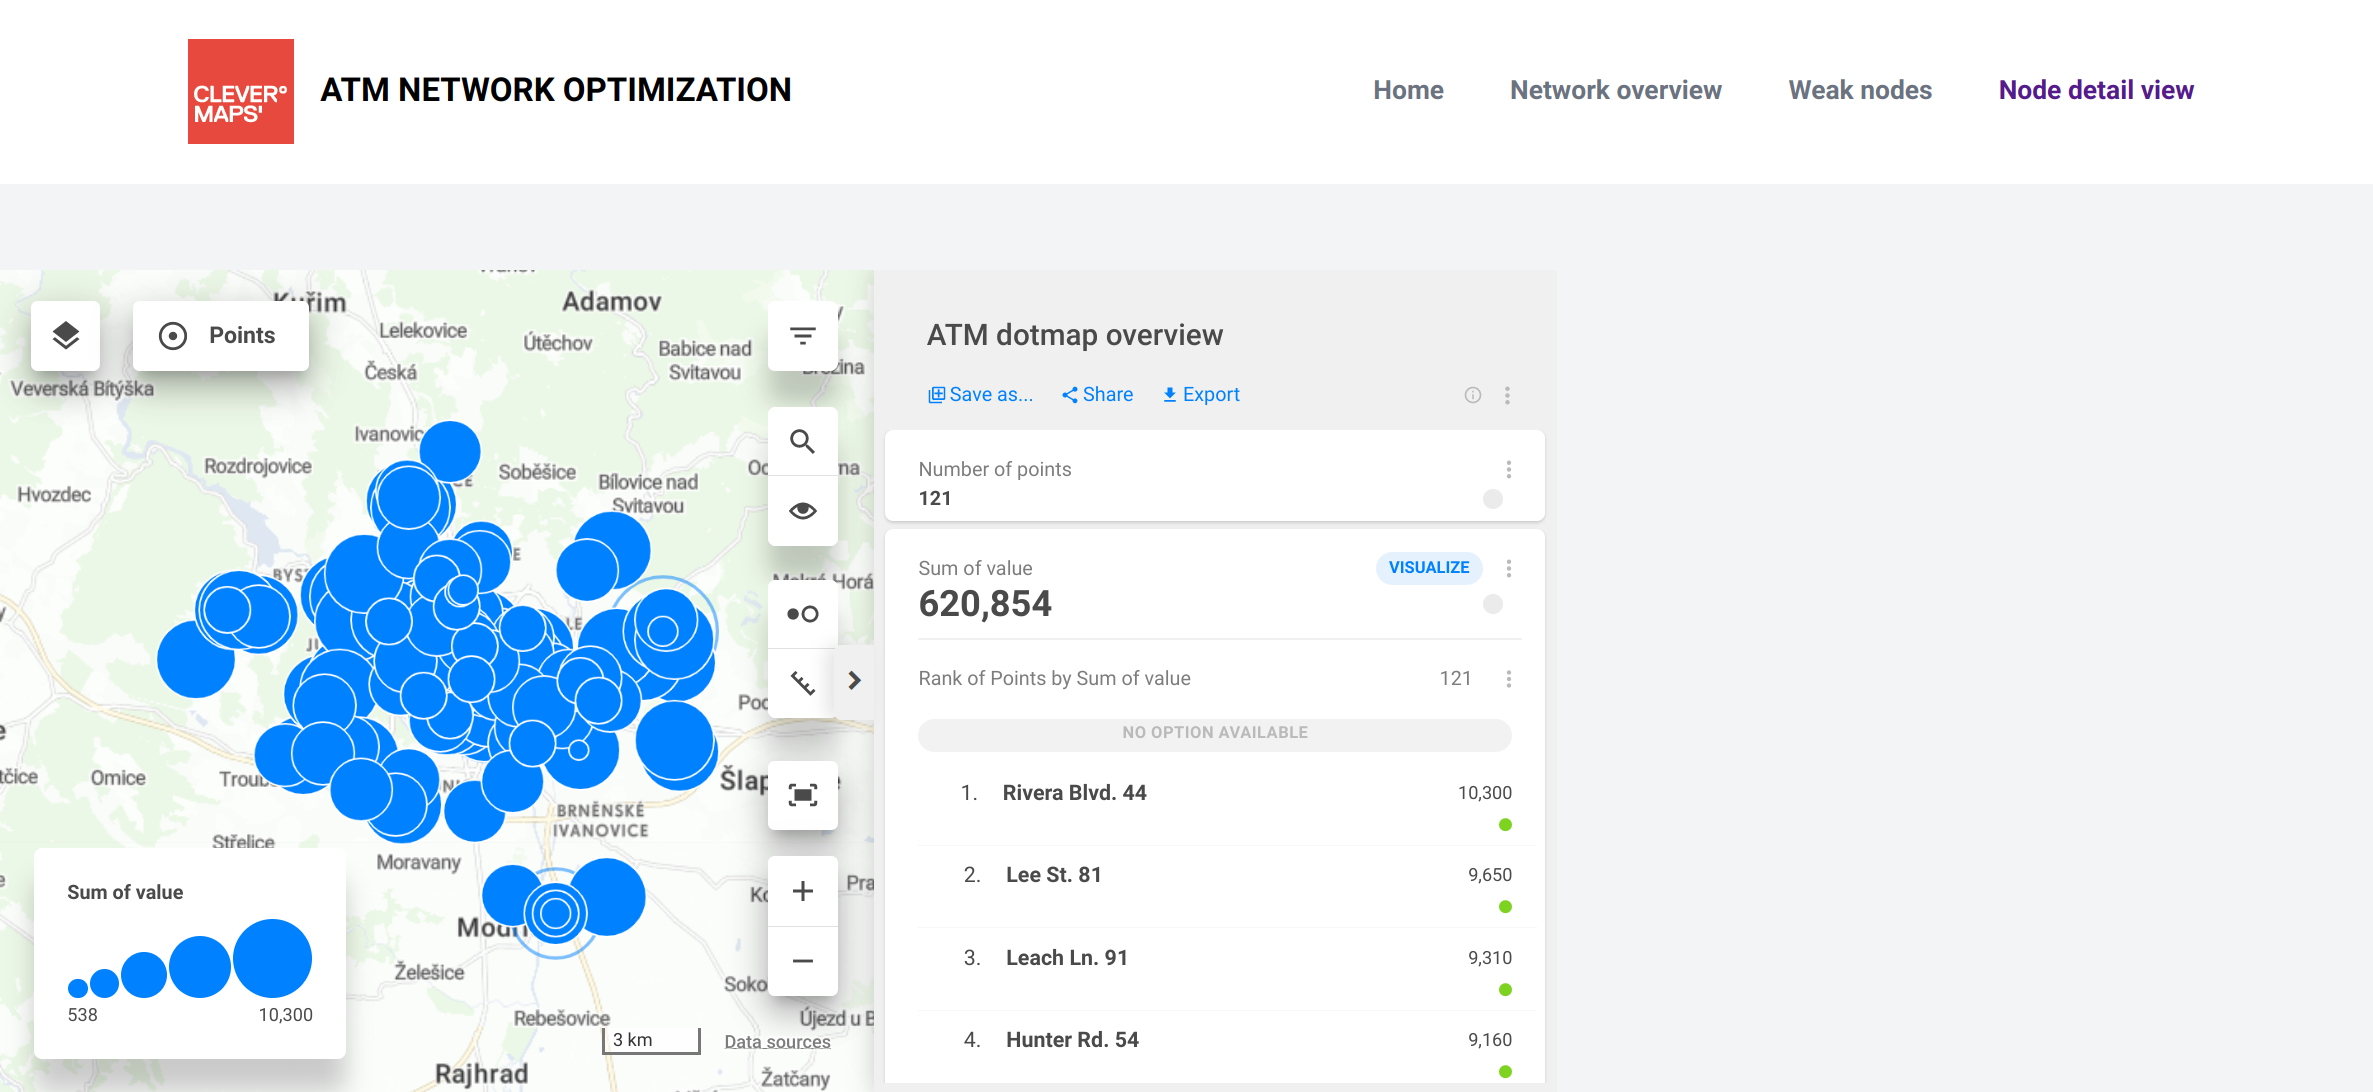
Click “Back to Story “and “Edit chapter “called "Node detail view". Add a new map dashboard, "ATM dotmap overview", with a blue folded map icon with default settings like in the previous tutorial section.
6.2. Add local filter
There are 5 types of filters available in the Stories builder - Range, Multi-select, Checkboxes, Single select and Radios. Each local filter in the Stories builder controls exactly one filter from the embedded Studio map dashboard. The type of filters must match. In this case, one Range filter controls one Histogram filter.
Read more about filter types in Filter types.
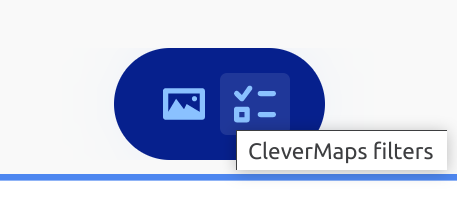
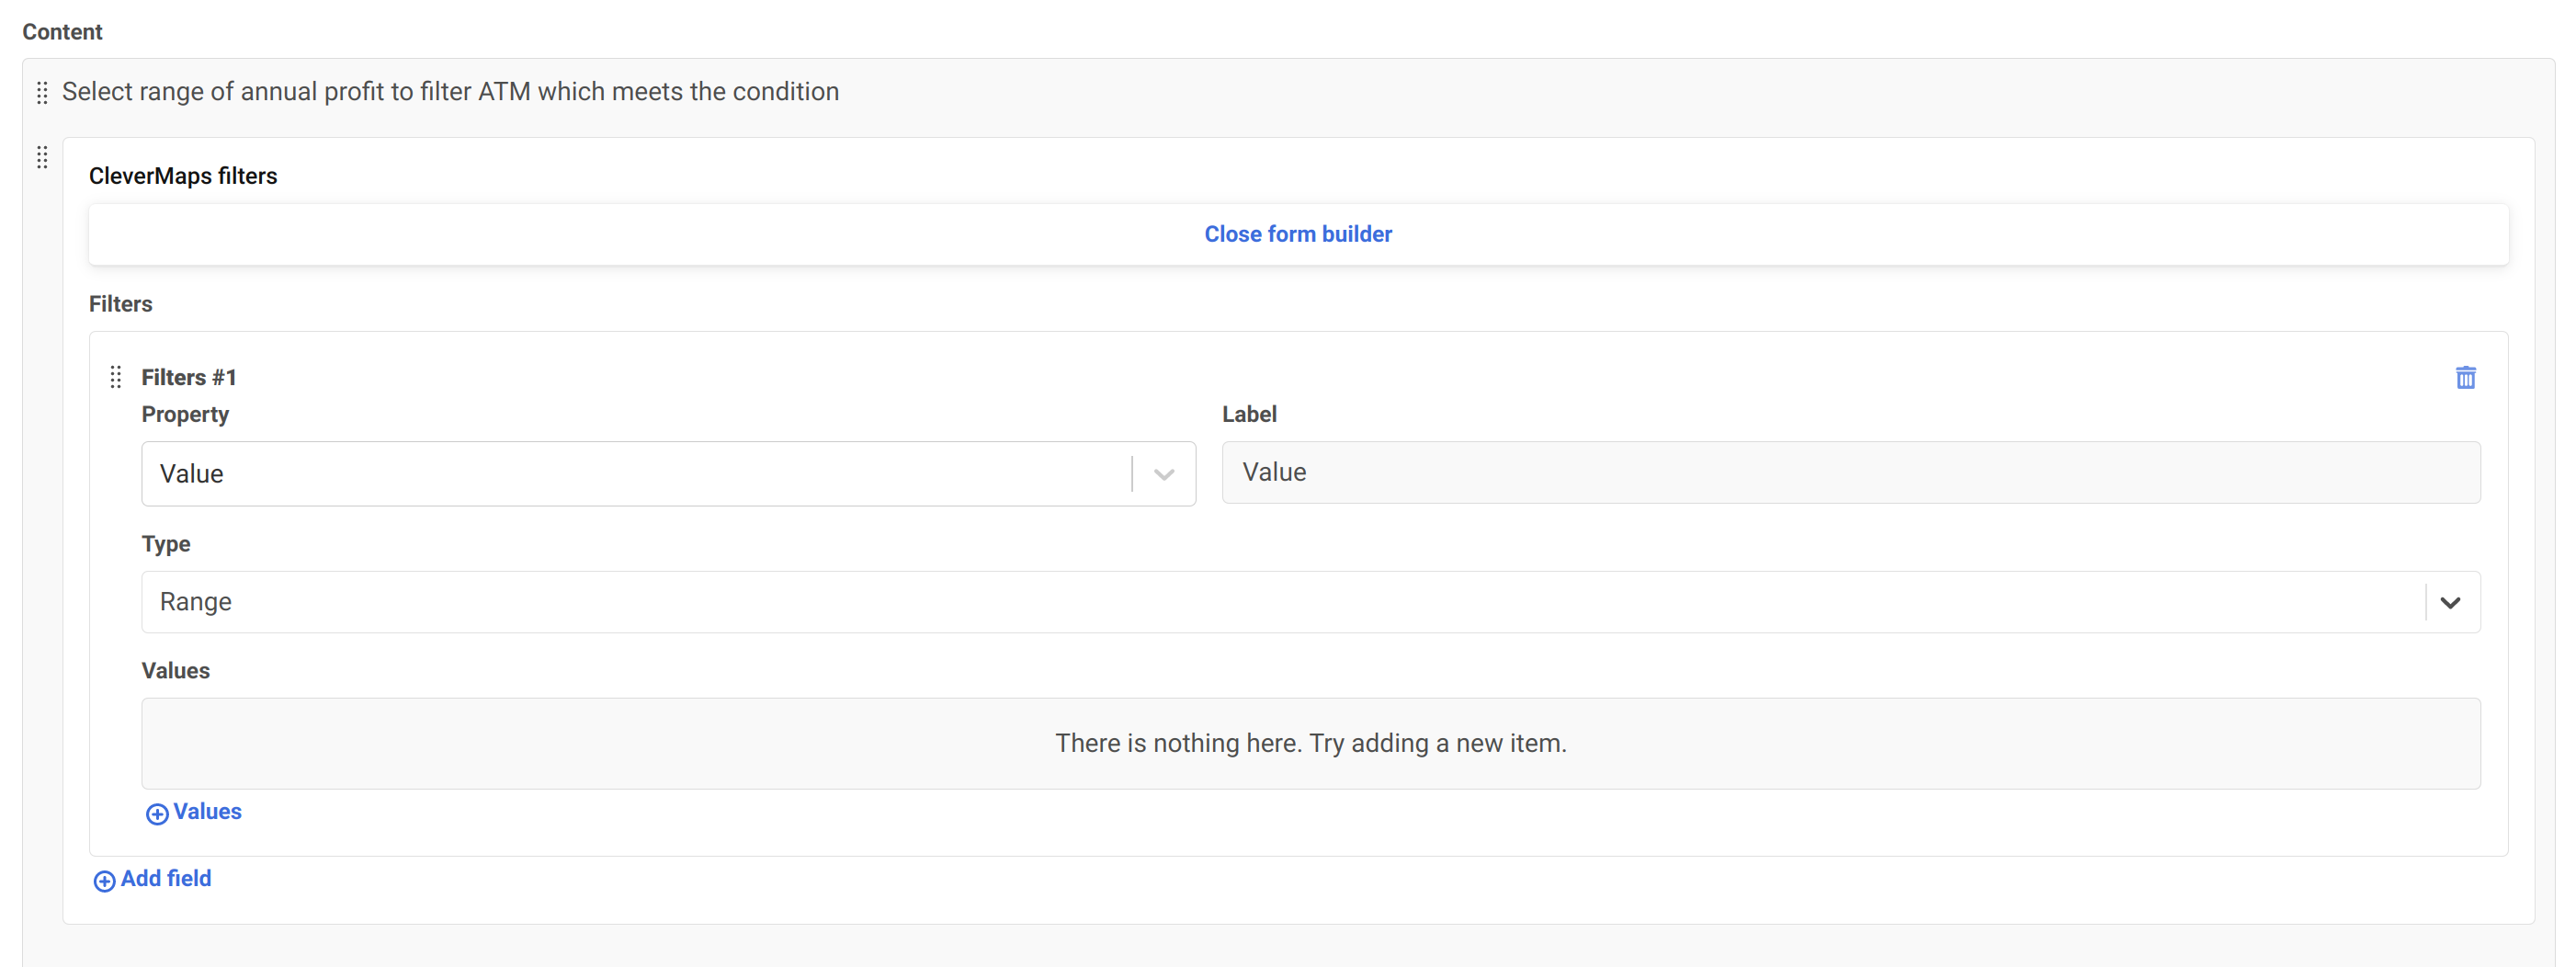
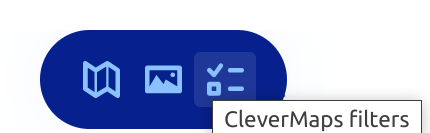
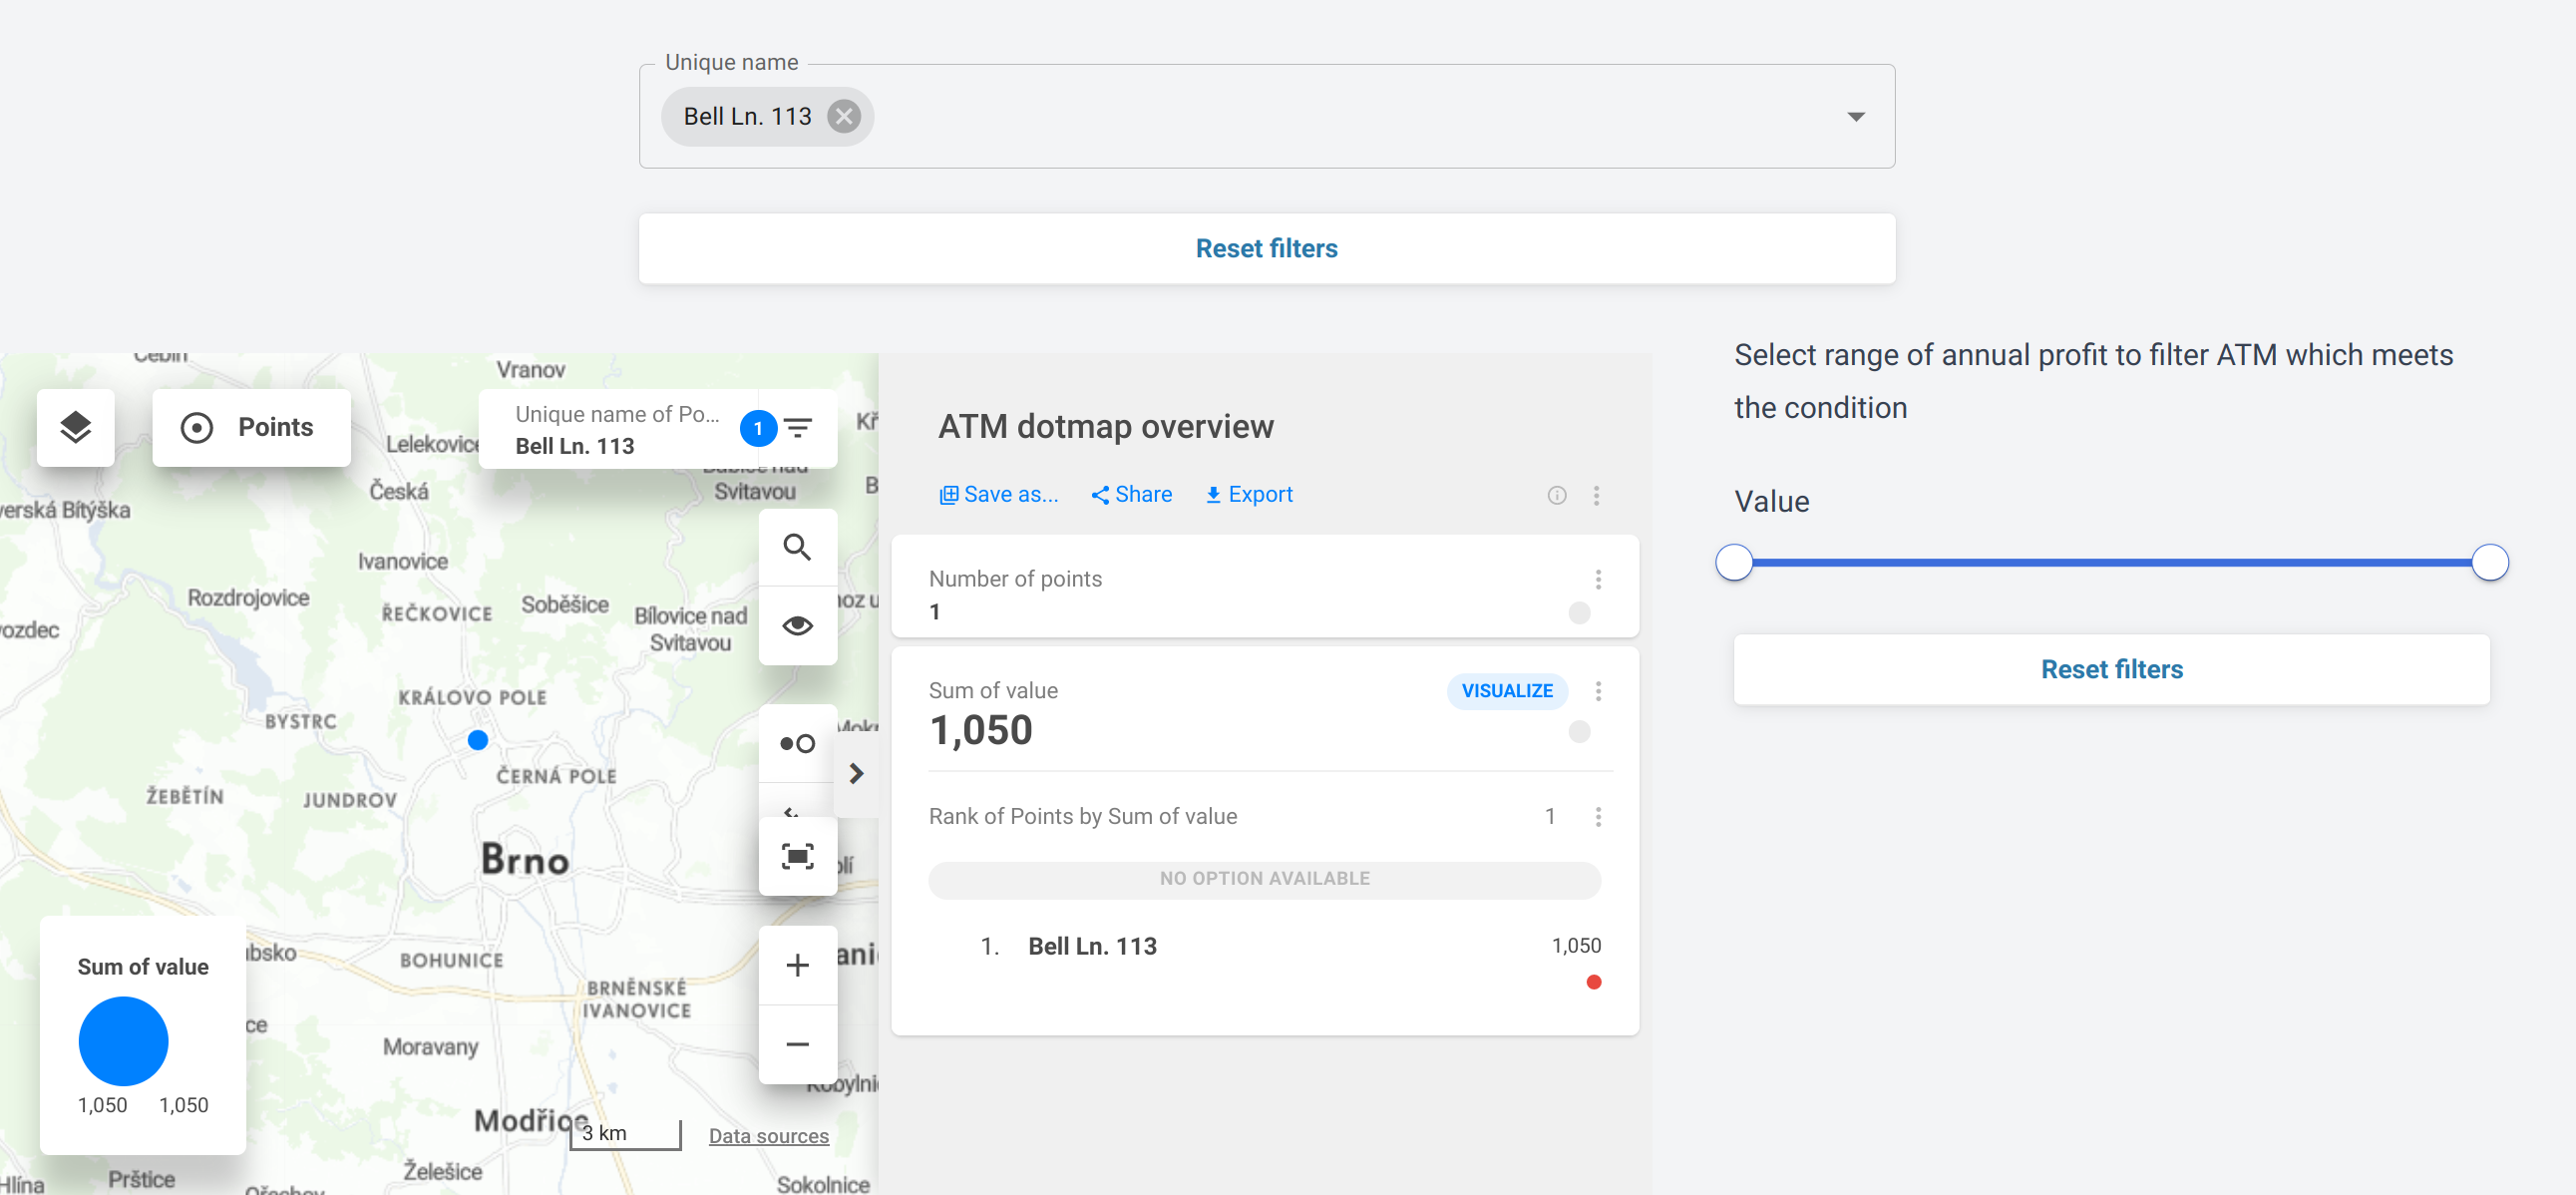
Go to map dashboard-related content and add a new paragraph with the text "Select range of annual profit to filter ATM which meets the condition". Next, add a filter below that text by clicking the checkboxes icon within the blue menu. Click "Open form builder" and then the "Add field" button. Select the "value" property with a dropdown menu. A new filter of type "range" will be created.
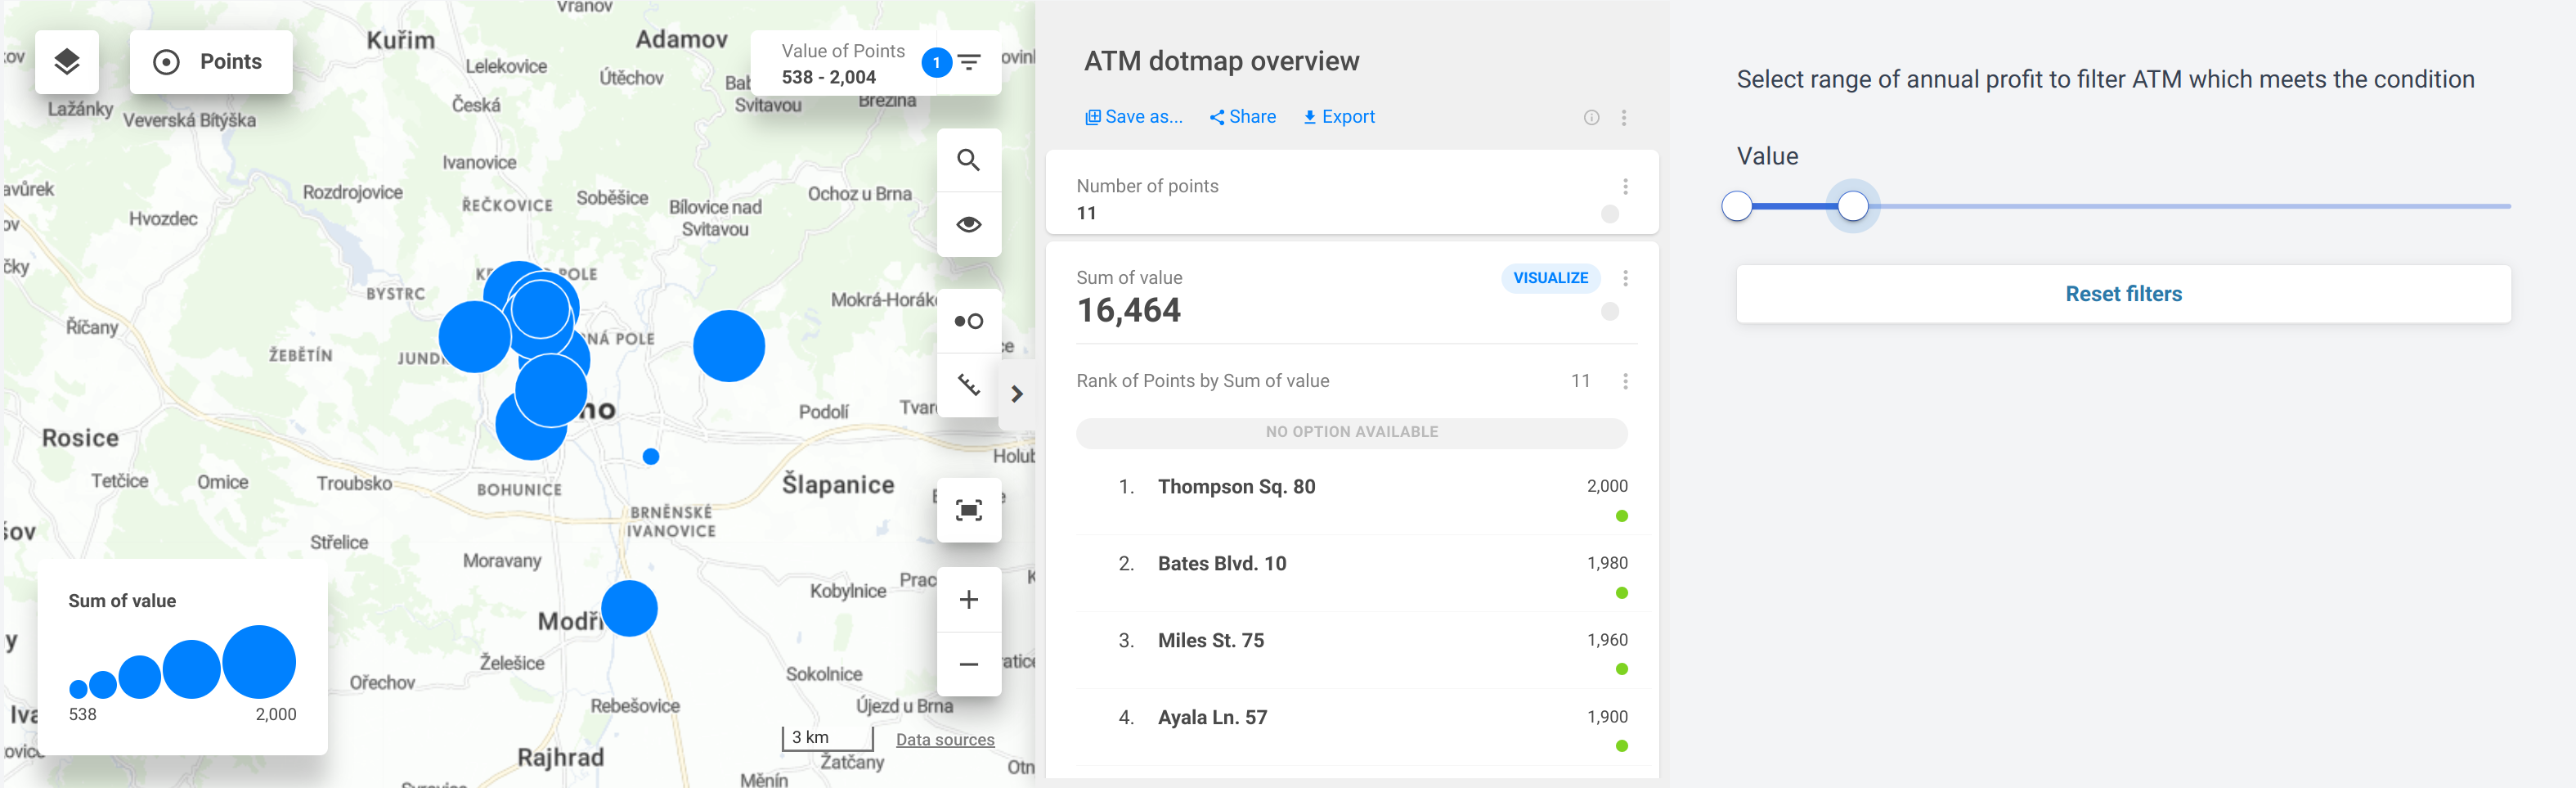
Save the Story and see the result. Try to use a range filter to show only the least-performing ATMs.
6.3. Add global filter
Unlike local filters, global filters may control multiple maps. The global filter has an additional field for selecting embedded map dashboards, which the global filter controls. A filter is global when it is placed in the Story or chapter content. On the other hand, a filter is local if it is placed in content related to the map dashboard.
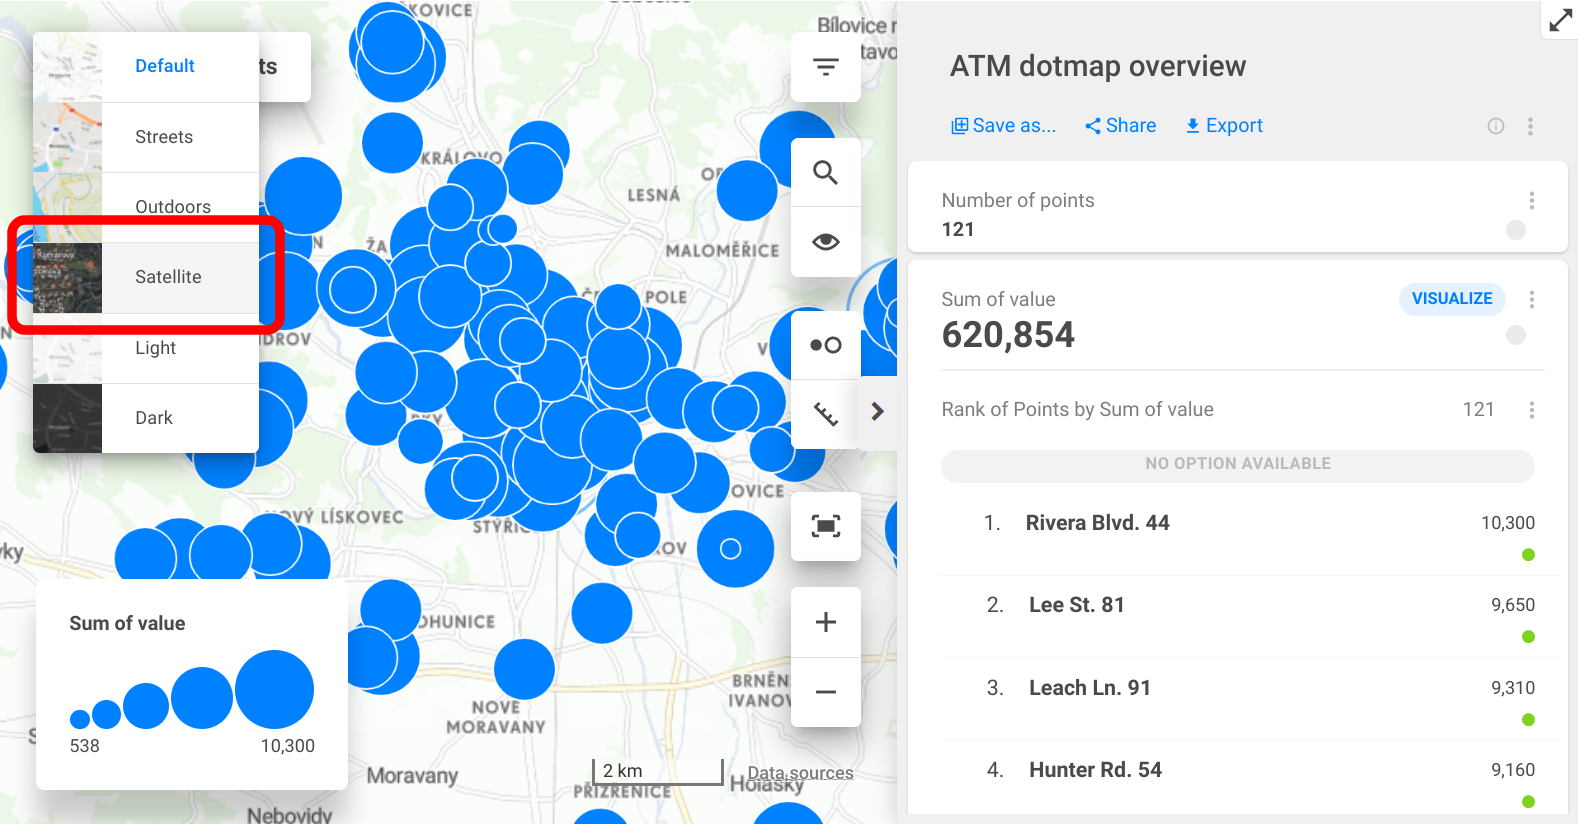
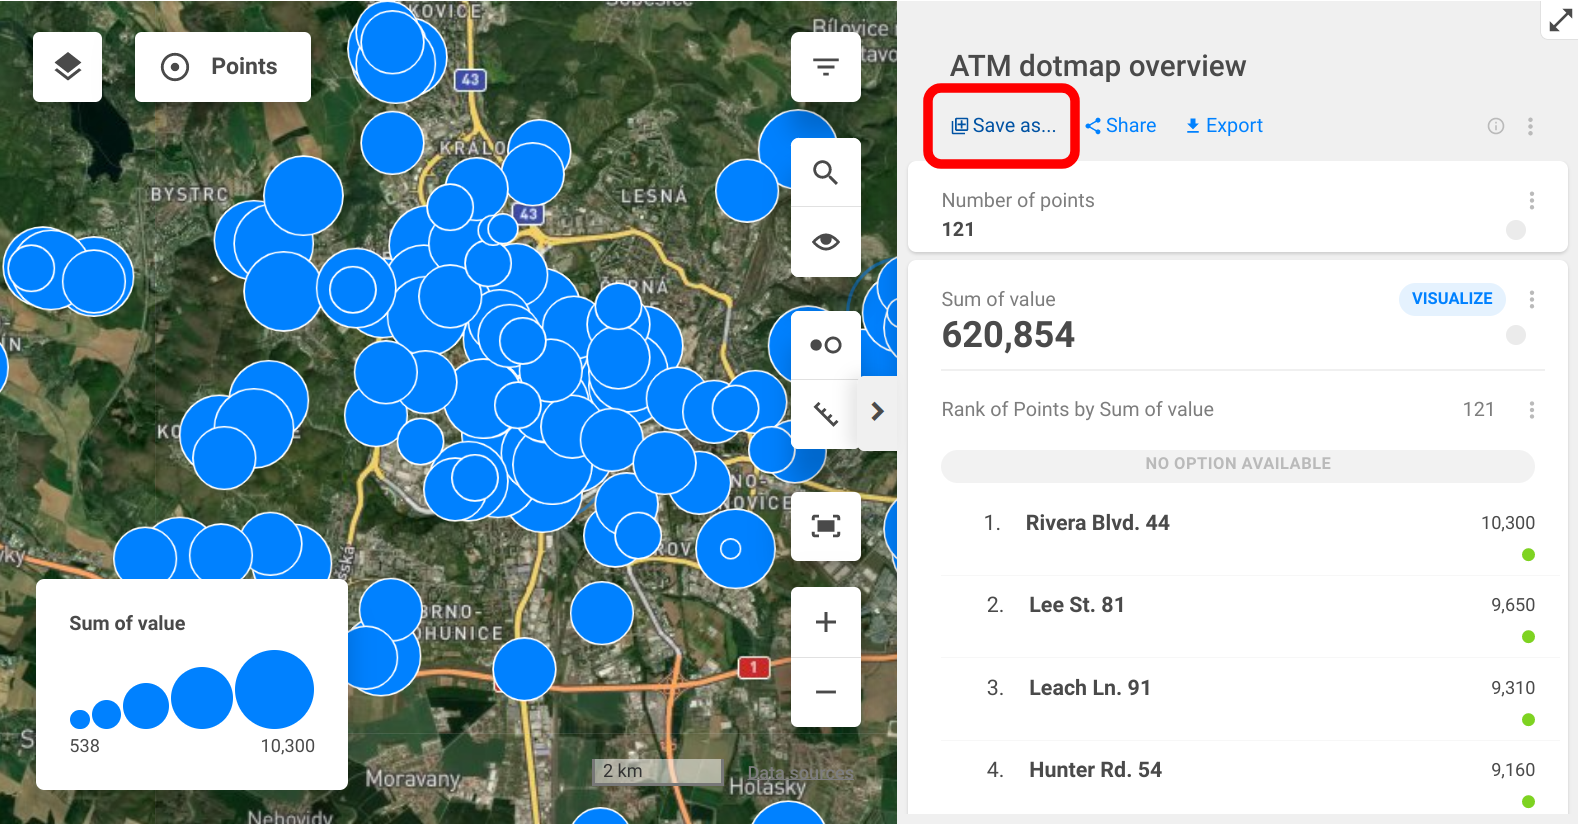
Let's add a second map dashboard below the first one. Select "ATM dotmap overview". Change its base layer to "Satellite", save it as "ATM satellite overview", and select it from a map dropdown. This will be an example of a different view of the same data. In a real case, this might show some additional context data (competition, symbiotic places, etc.).
Now add a new global filter above the first map dashboard by clicking the checkboxes icon within the blue menu. Select both maps by their generated names (note yours will differ from those captured in the screenshot). Click "Open form builder" then "Add field" and select "Unique name" property. A new filter of type Multi-select is created.
Save your work and see the result. Try to filter with the Unique name global filter and Value local filter. Notice that the Unique name affects both maps, but the Value affects only the first one.

Back to 5. Control Map dashbord state
Continue to Tutorial conclusion