Getting started
AreaMapper is a tool which can help you prepare your bussines data for visualization in the CleverAnalytics platform. AreaMapper computes geometric intersection for points and polygons (areas) and then adds ID's of polygons to points where an intersection exists. Example scenario could be mapping points of your customers to administrative units. Then you can work with data of your customers in context of city districts, cities, counties and so on.
You can map points to your own area data (e.g. delivery zones) or you can use already prepared data dimension from us (e.g. administrative units). Both points and areas need to have the same coordinate system (e.g. WGS84).
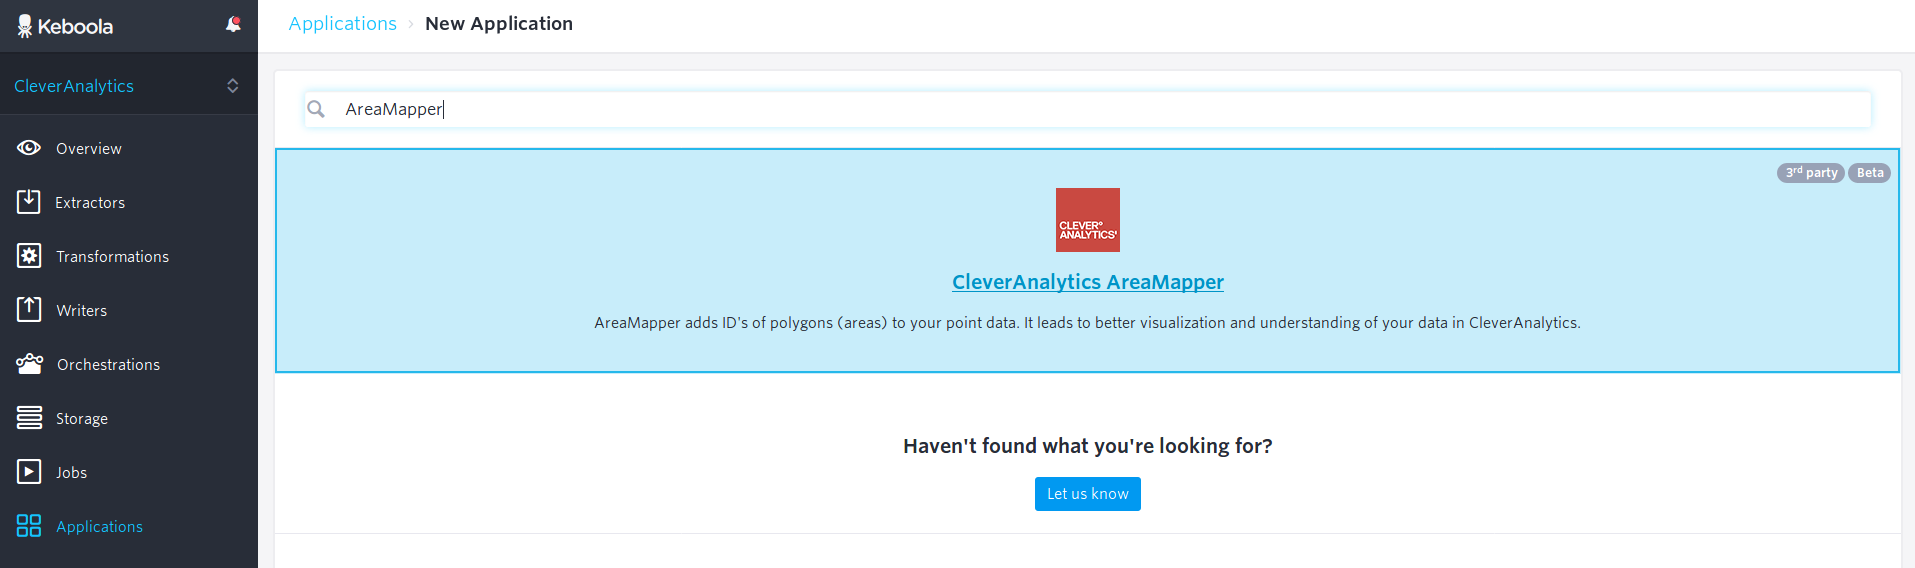
AreaMapper is available as Keboola Connection Component and it is available to registered Keboola users. You have to be logged in your Keboola project (https://connection.keboola.com) to use it. To open AreaMapper just go to Applications, choose New Application and write "AreaMapper" into the search bar. Then choose CleverMaps AreaMapper.
Configuration
With the AreaMapper application opened, choose New Configuration and fill in the form.
Firstly, you need to specify input and output mappings.
-
Table Input Mapping
-
Choose New Table Input and specify a table with your business point data which you want to map to areas.
-
Optionally, you can choose New Table Input and specify table with your own area data.
-
-
Table Output Mapping
-
Choose New Table Output and create a new empty table where the results will be stored.
-

Secondly, you need to specify parameters in AreaMapper parameters section. Just follow the parameter's names and descriptions which are pretty self explanatory. In the examples below you can see the configuration of mapping point data of shops to administrative units.
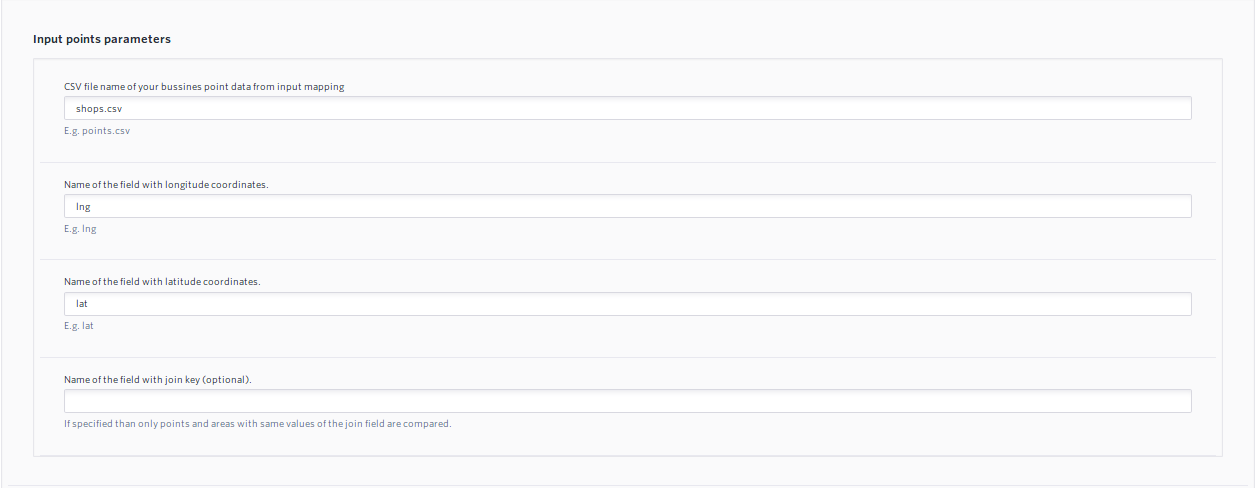
First picture shows an example of input parameters. In the first parameter, we specify a file containing points of our shops. File name "shops.csv" is taken from the input mapping. Then we specify names of the fields with longitude ("lng") and latitude ("lat") coordinates. The last parameter is skipped because we want to compare every pair of point and polygon. If you need to compare only specific pairs of points and polygons, then specify the field name which contains that key.
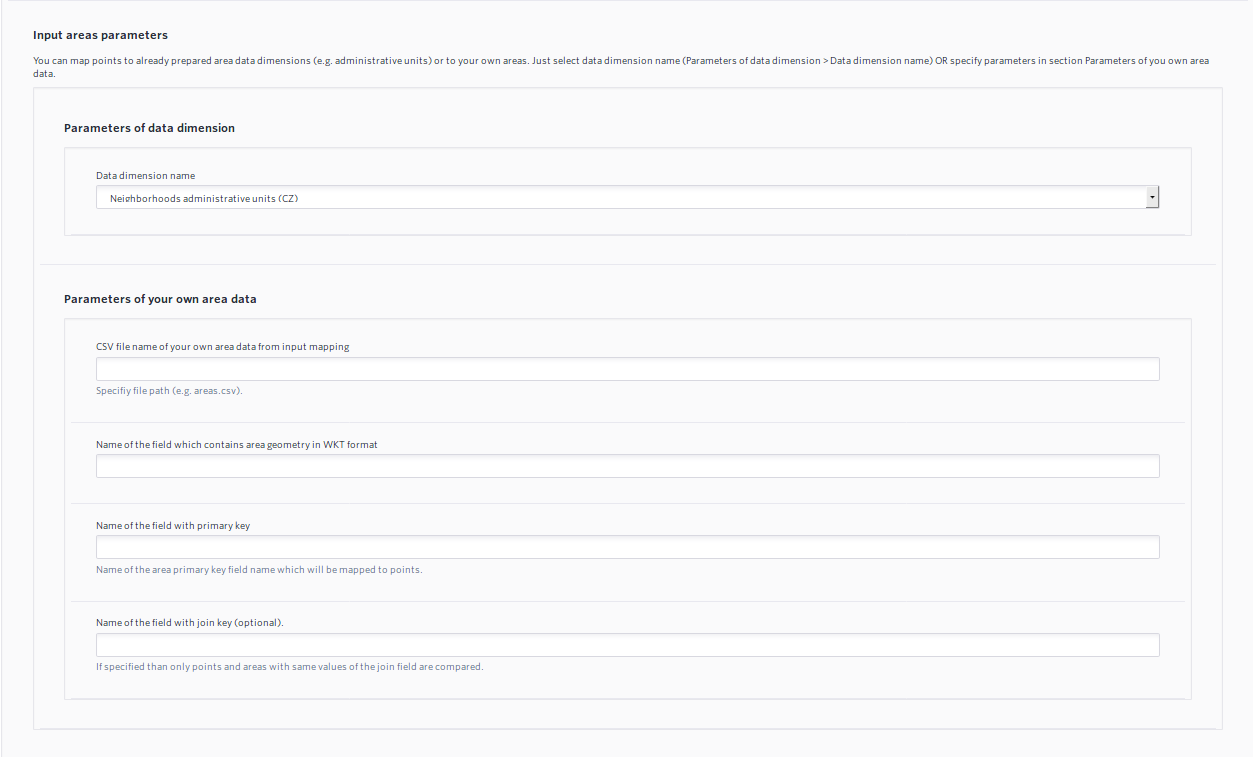
In the next section, you can see an example of input areas parameters. We are mapping our shops to already prepared data dimension - Neighborhoods administrative units (CZ). So we have selected the dimension name and completely skipped Parameters of your own area data section. In the other case, you need to specify the filename of your own area data from the input table mapping and fill in the remaining parameters.
And finally the last section - output parameters. This time, you specify just one output parameter - a default value, which will be written into the output column in case that point has no intersecting polygon.

If all required parameters are specified, then you are ready to save the configuration and run AreaMapper!
You can contact us on support@cleveranalytics.com in case of any issues.